How to create a zoom
A zoom is a short video that flies from a wide view into one small detail, or back out again. You make one from a handful of ordinary photos, taken from one spot at different zoom levels. Zoom Buzz lines the photos up and renders the flight between them.
The camera in your pocket is enough. All three zooms in this guide were shot handheld on a phone, in less than half a minute each. Nearly everything that makes a zoom good happens when you take the photos, so that is where this guide spends its time.
What you need
- A camera that zooms. A phone with zoom buttons (0.6x, 1x, 3x and so on) is ideal. A camera with a zoom lens works too. The more range you have, the deeper your zoom will go.
- A detail inside a wider scene. A clock on a tower, a face in a crowd of statues, a sign above a shop. The detail is where the zoom ends up, so it is worth choosing well.
- Three photos or more. Three is the minimum. Five to eight gives a smoother, deeper zoom.
Taking the photographs
1. Choose a detail worth arriving at
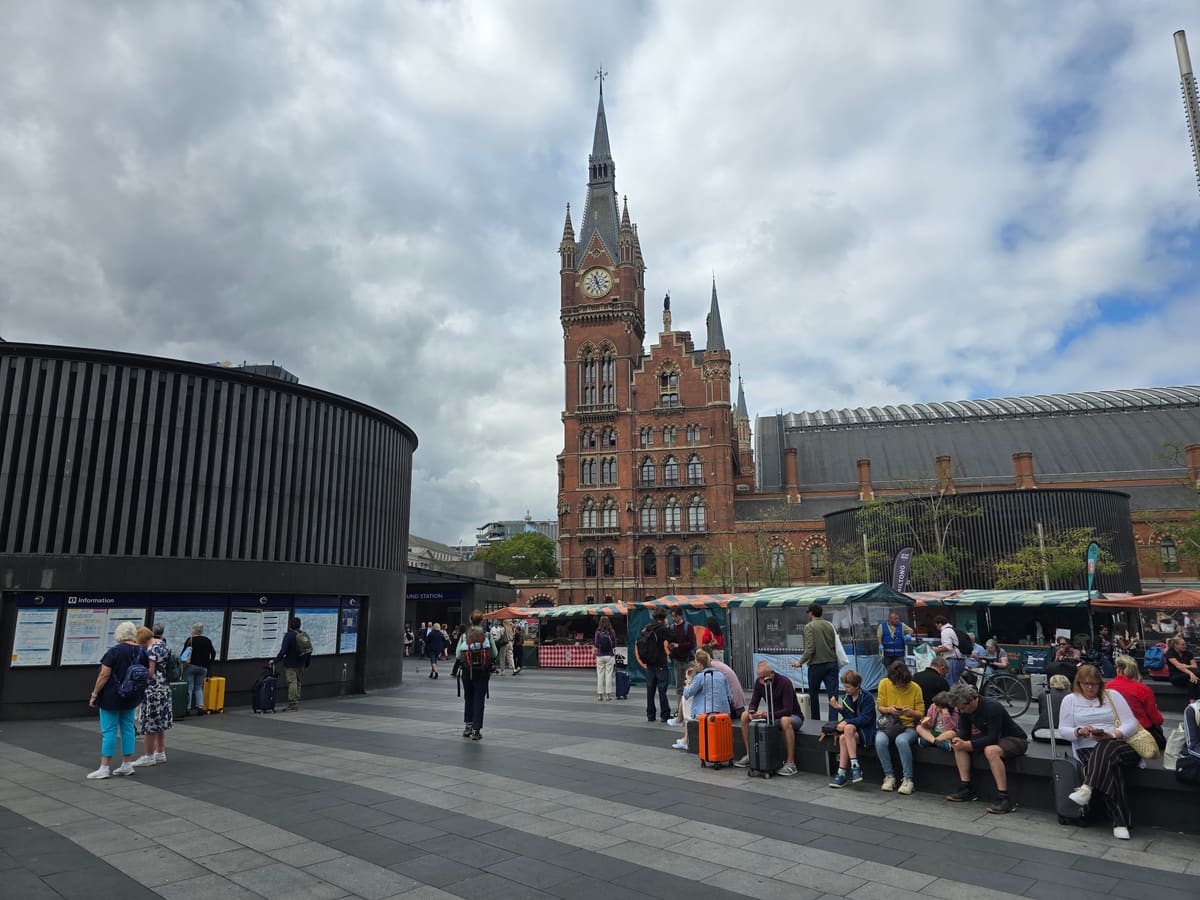
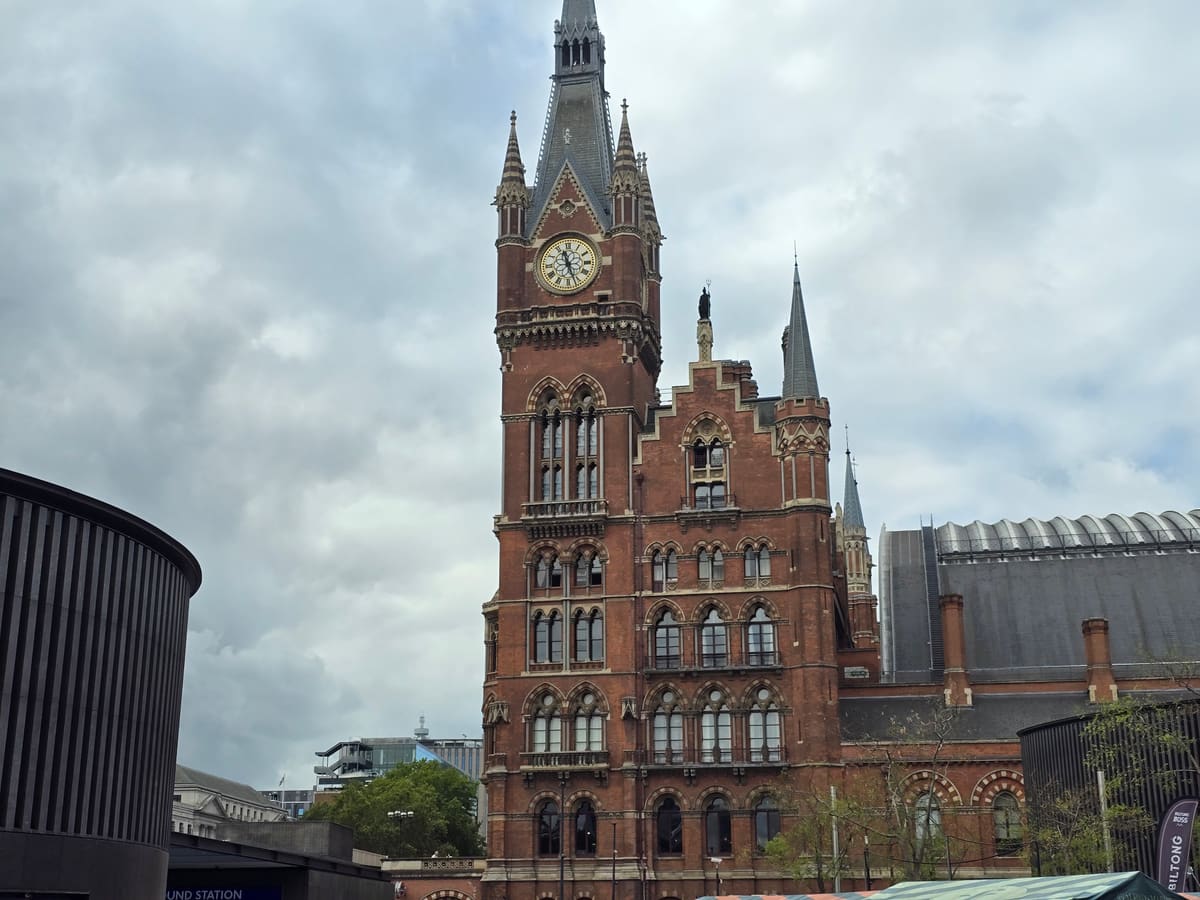
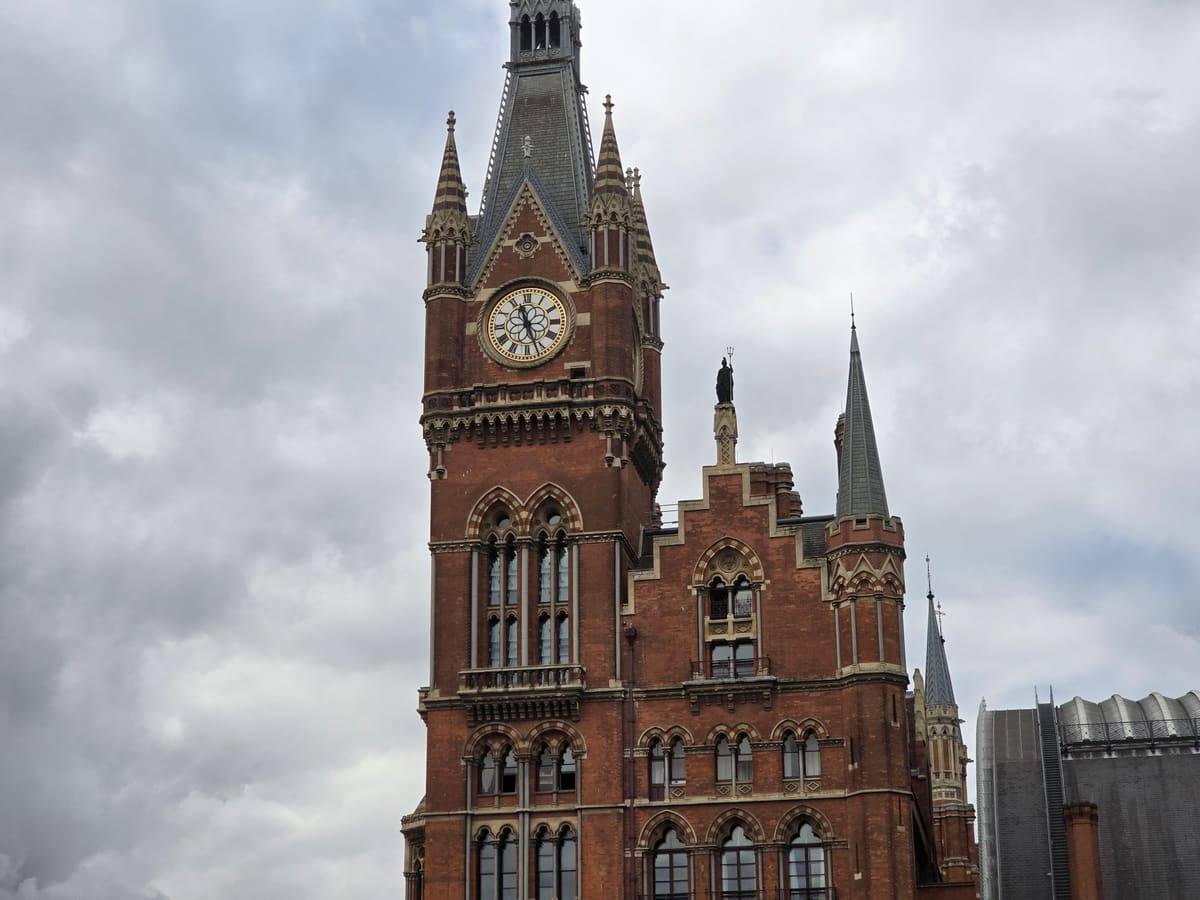
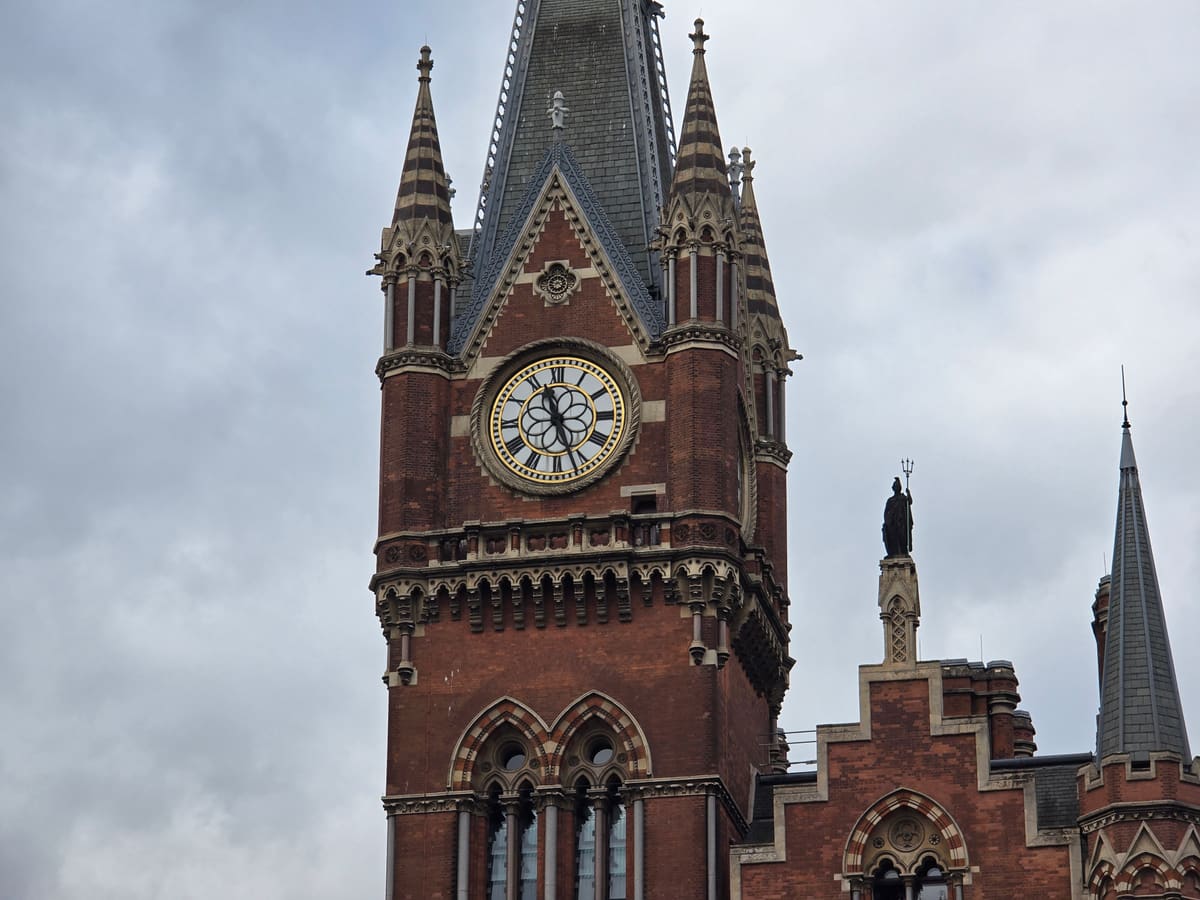
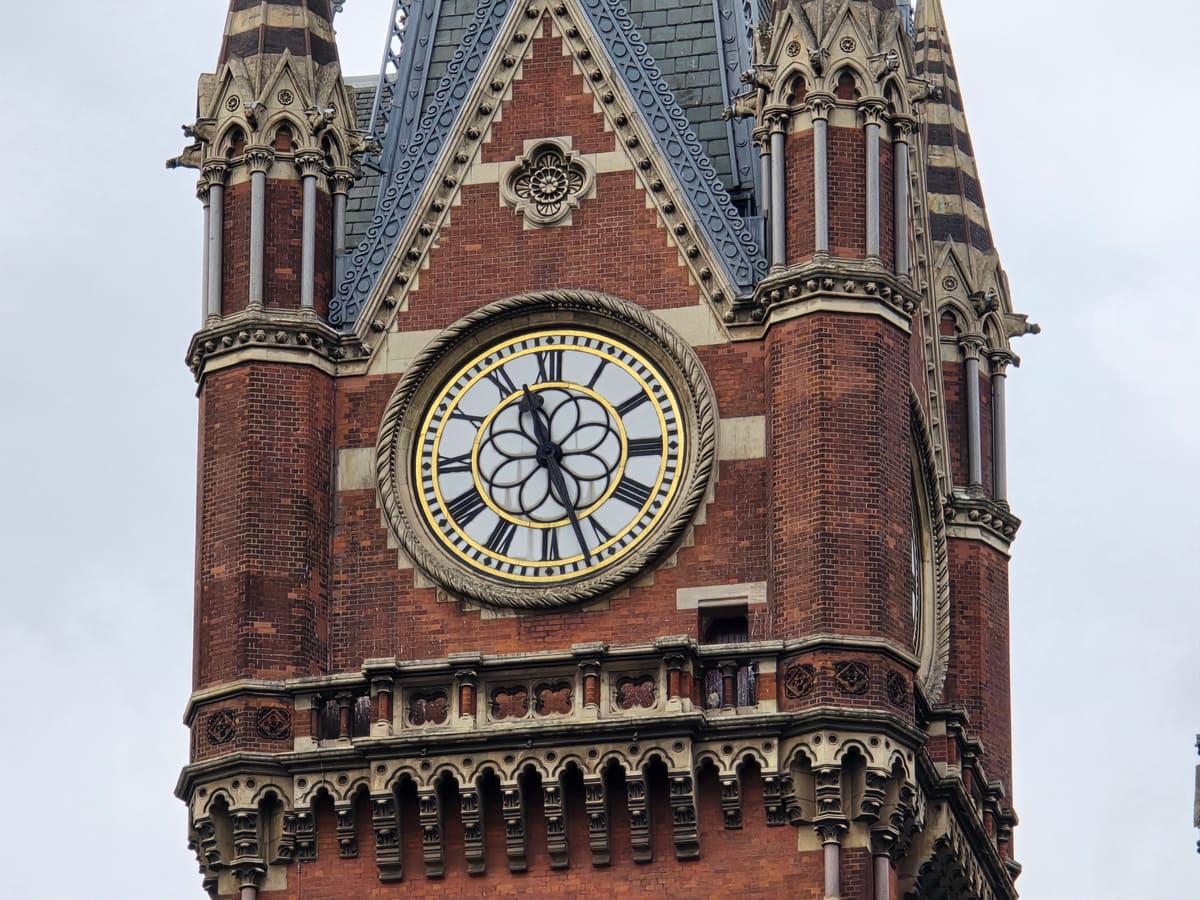
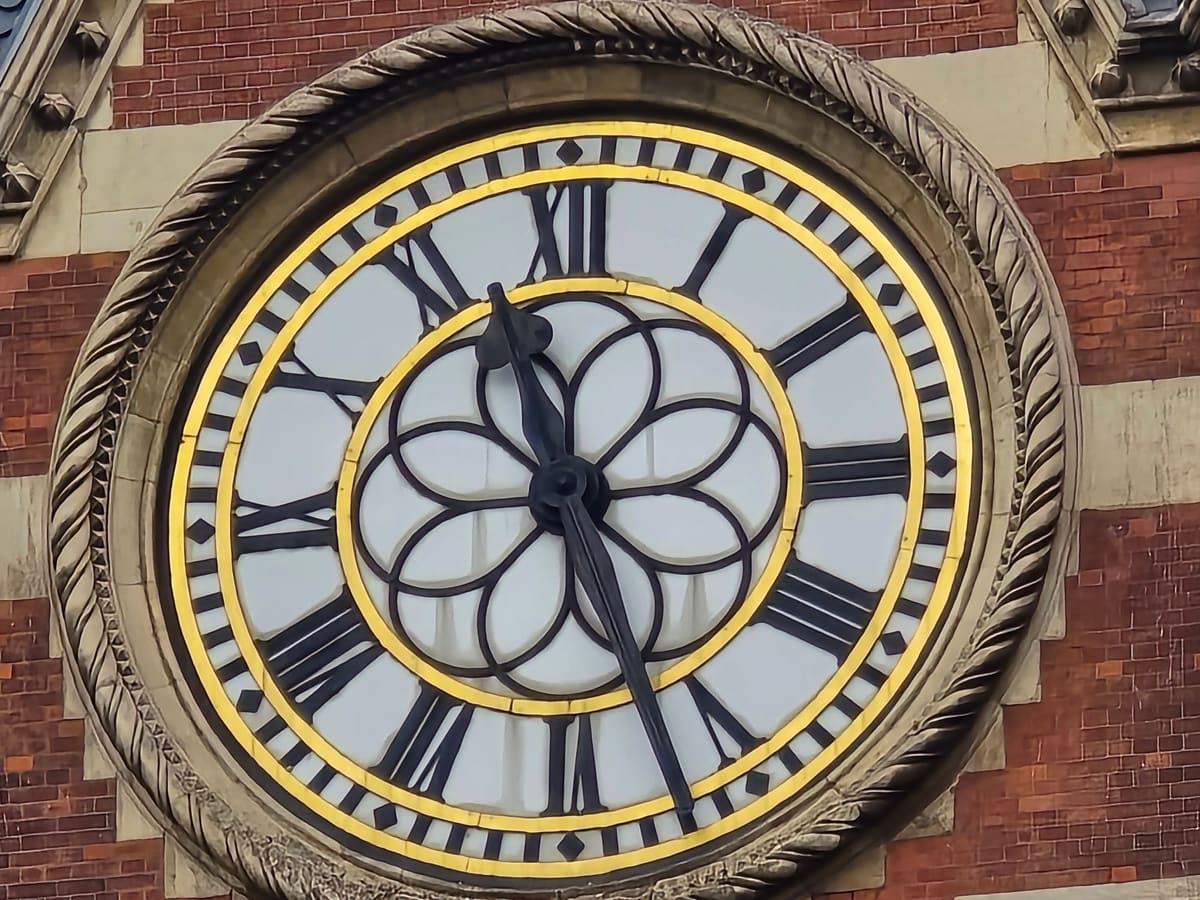
A good zoom rewards the viewer with something they could not see in the wide shot. At St Pancras station in London the wide view is the whole station forecourt, and the reward is the clock face at the top of the tower, close enough to read the Roman numerals.
Pick a detail that stays still, and that your camera can still see sharply at its longest zoom. Something with fine texture, like carving, lettering or ironwork, looks better at the end of a zoom than a plain surface.
2. Stand in one spot, and stay there
Take every photo from the same place. Turn and zoom, but do not walk. If you step closer between shots, near and far things slide past each other, and the photos stop lining up. Plant your feet before the first shot and keep them planted until the last.
3. Step through your zoom levels
Start with the widest view you want in the video, then zoom in a step at a time until you reach the detail, taking one photo at each step. Each photo should show everything in the next one, so every shot sits inside the shot before it.
Keep the steps even, and never much more than three times closer than the photo before. A gap that is too big leaves the closest photo sharing no detail with the rest, and the zoom cannot connect them. On a phone, the zoom buttons make a good ladder: 1x, 2x, 3x, 5x, 10x, and then as far as it goes.
This is the St Pancras set: six photos, from 1x to 30x, taken in eleven seconds.
4. Keep the detail near the middle
Aim at your detail in every shot, and keep it close to the centre of the frame as you zoom. The zoom follows the path your photos take, so a set that drifts around makes a zoom that wanders. A little drift is fine: the zoom smooths it out.
5. Work quickly
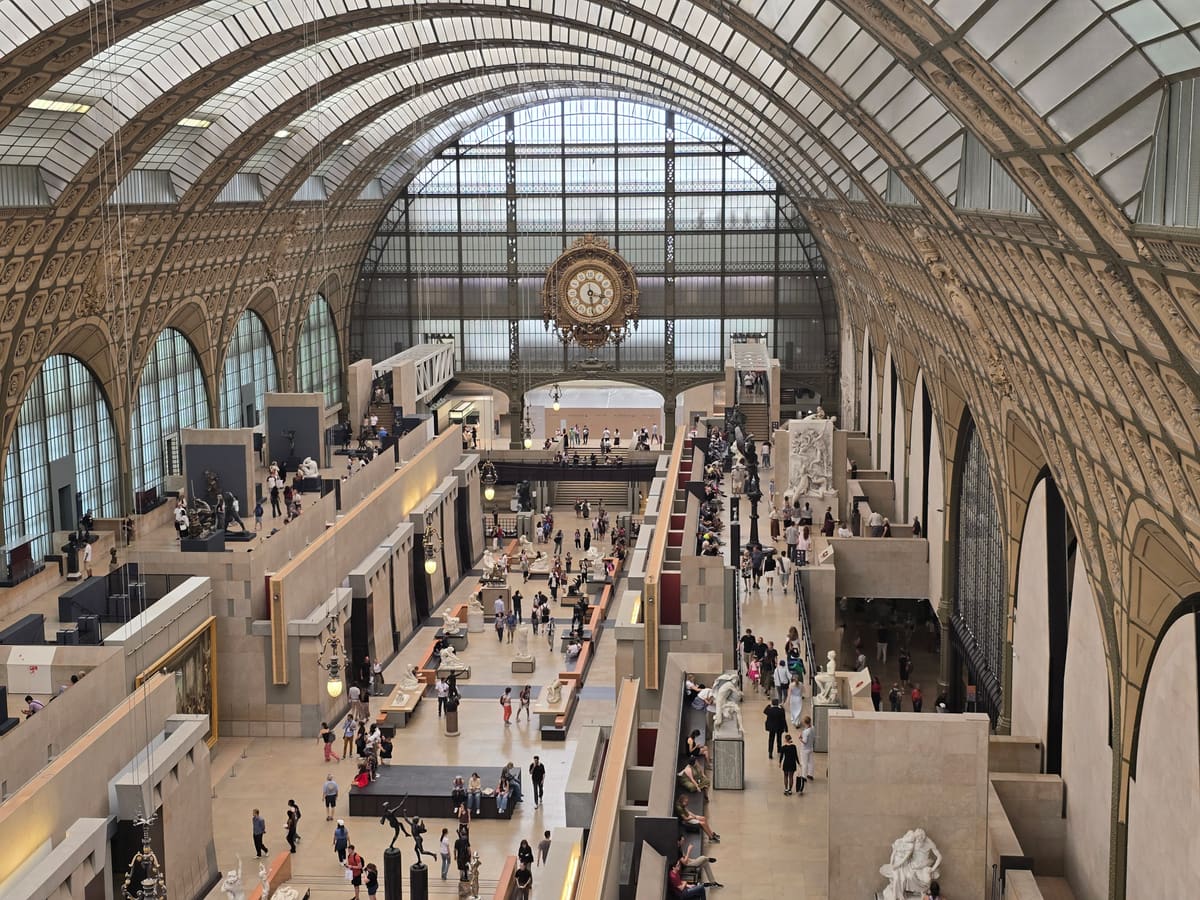
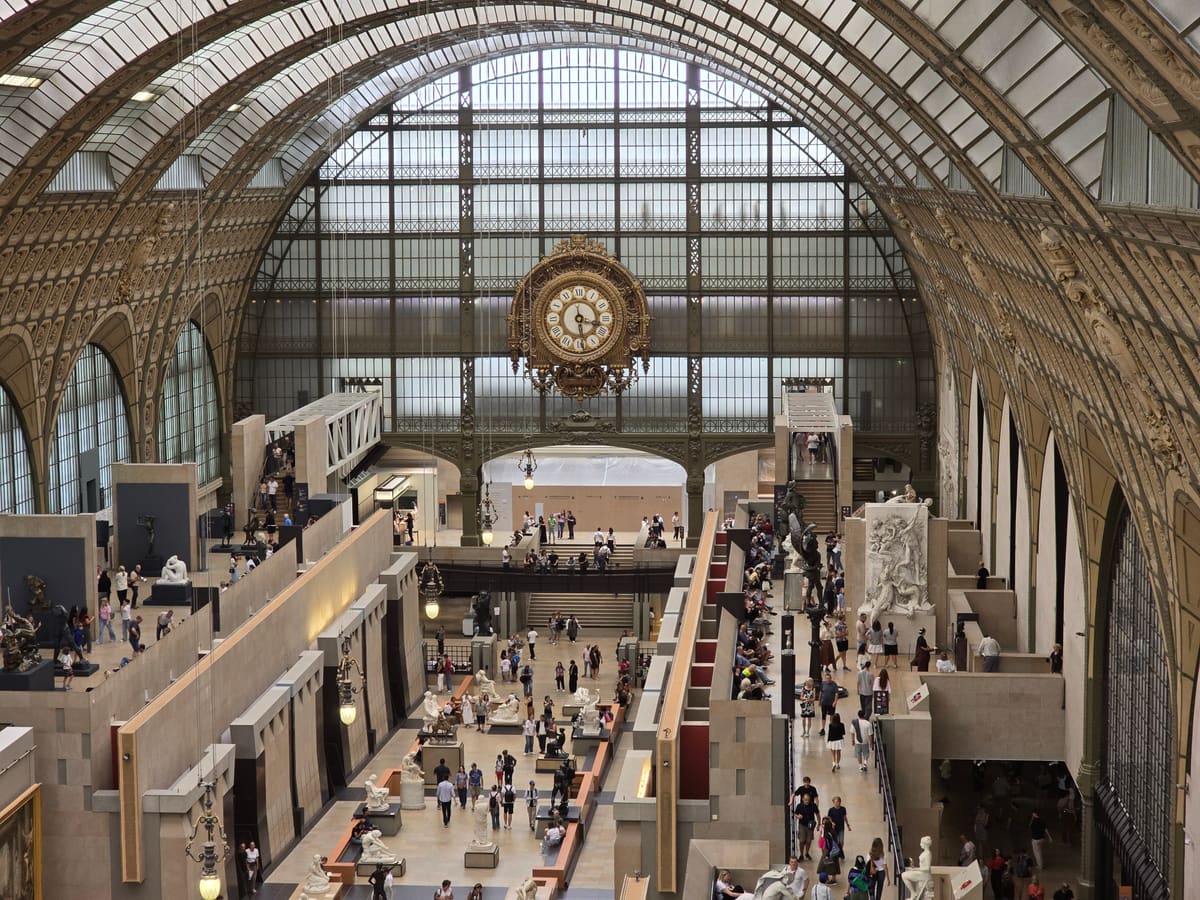
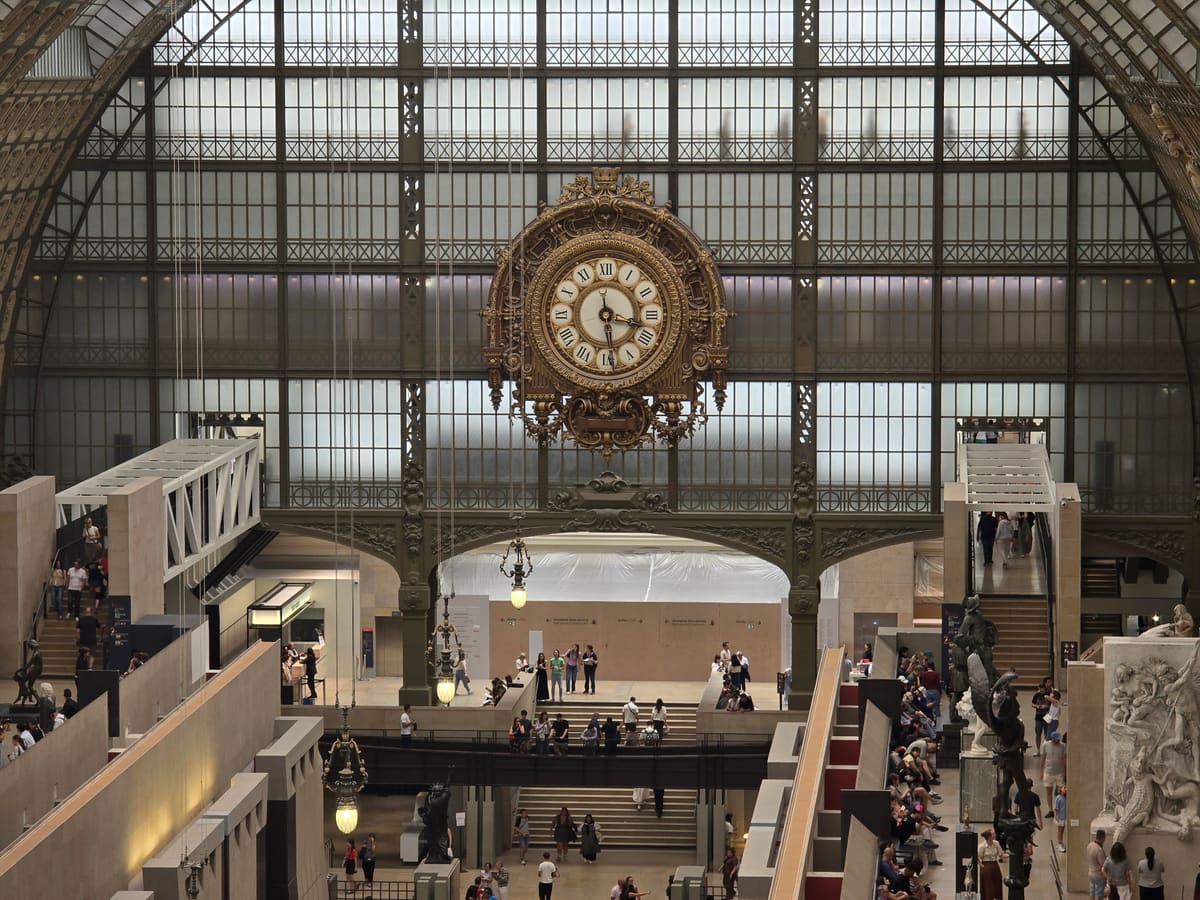
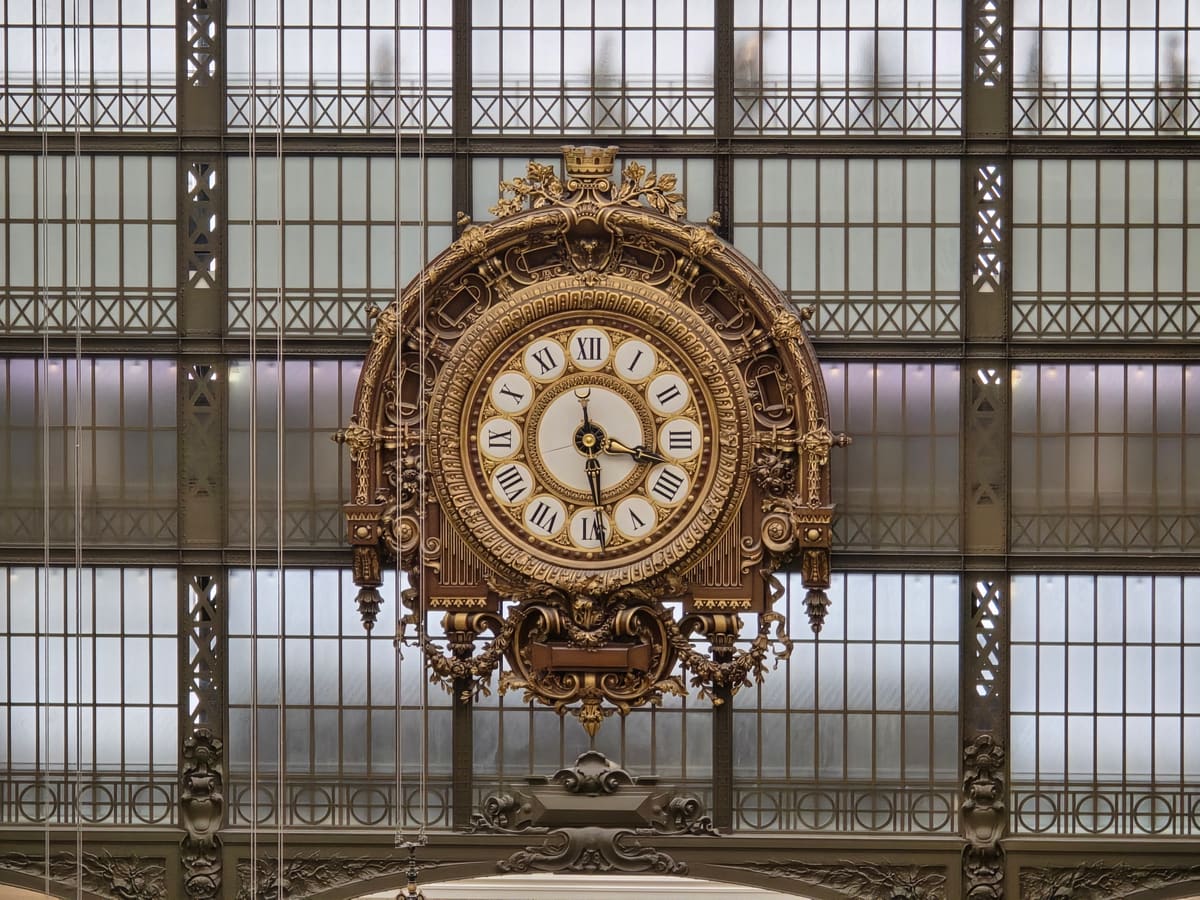
Take the whole set in one go. The St Pancras set took eleven seconds, the Musée d'Orsay set twenty-one. Light changes, clouds move and people walk through, and the less time passes between the first photo and the last, the better the photos match. People moving through the wide shots do no harm, as long as the detail you zoom to stays still.
6. Make every shot sharp
At long zoom every wobble shows. Tap the screen on your detail before each shot so it is in focus, hold the phone with both hands, and tuck your elbows in or lean on a wall or railing. Good daylight helps a great deal, because it lets the camera use a fast shutter speed. If a close-up comes out blurred, take it again before you move on.
7. Start wider than you think
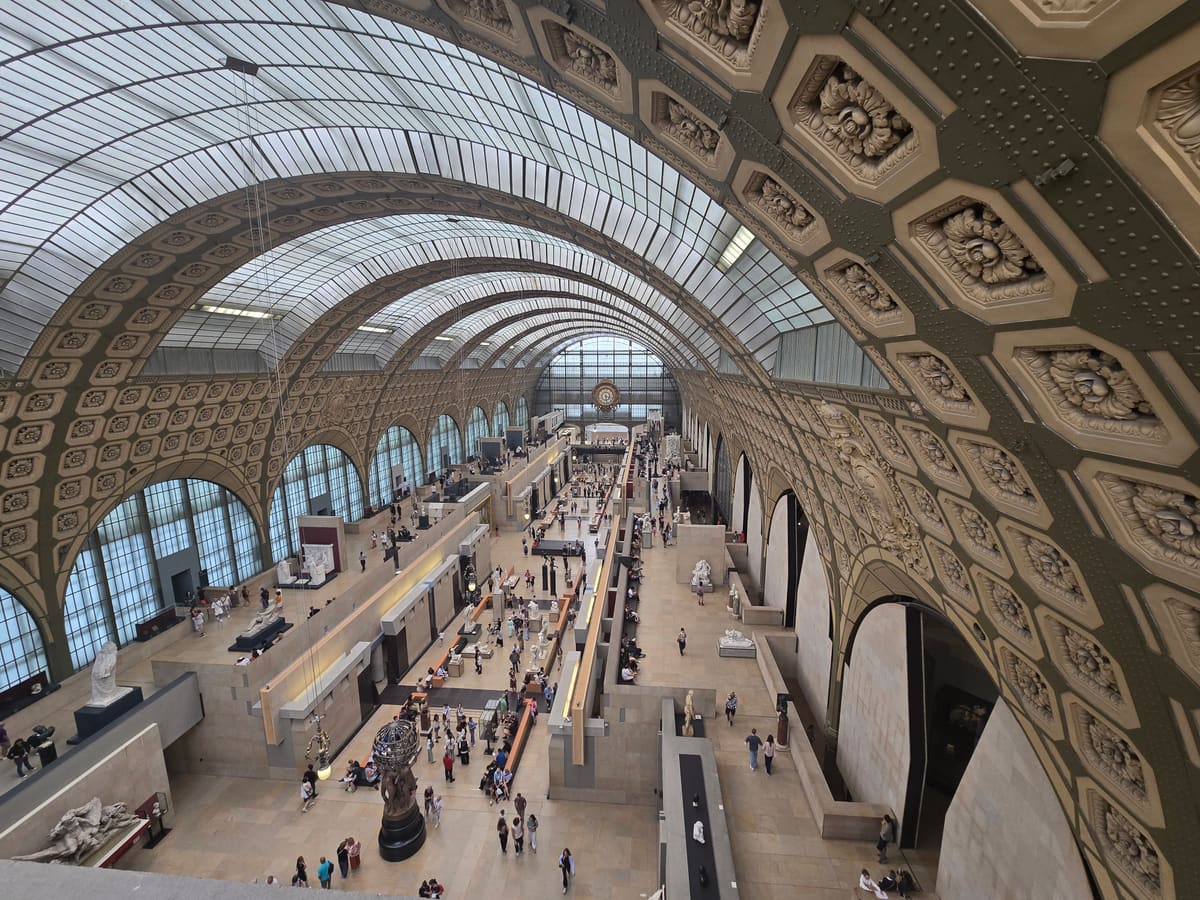
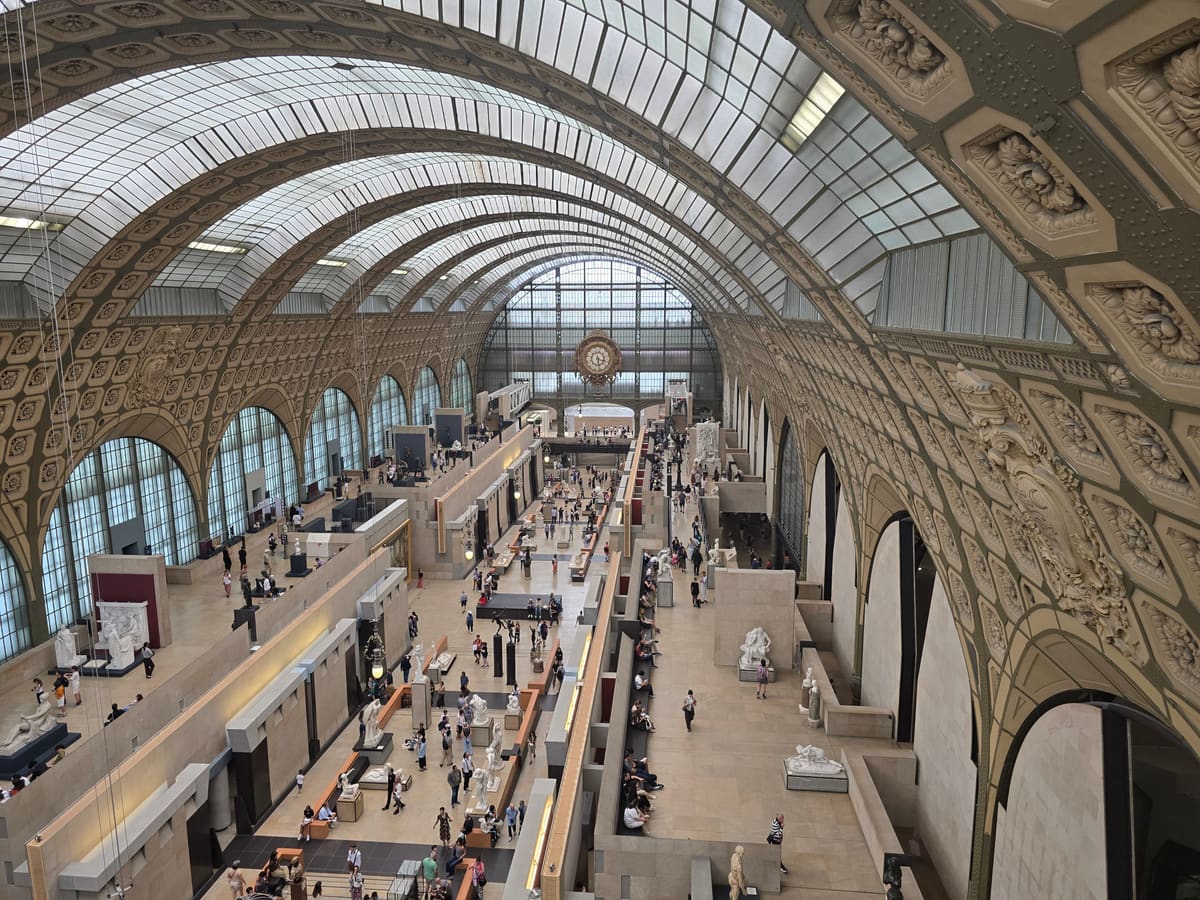
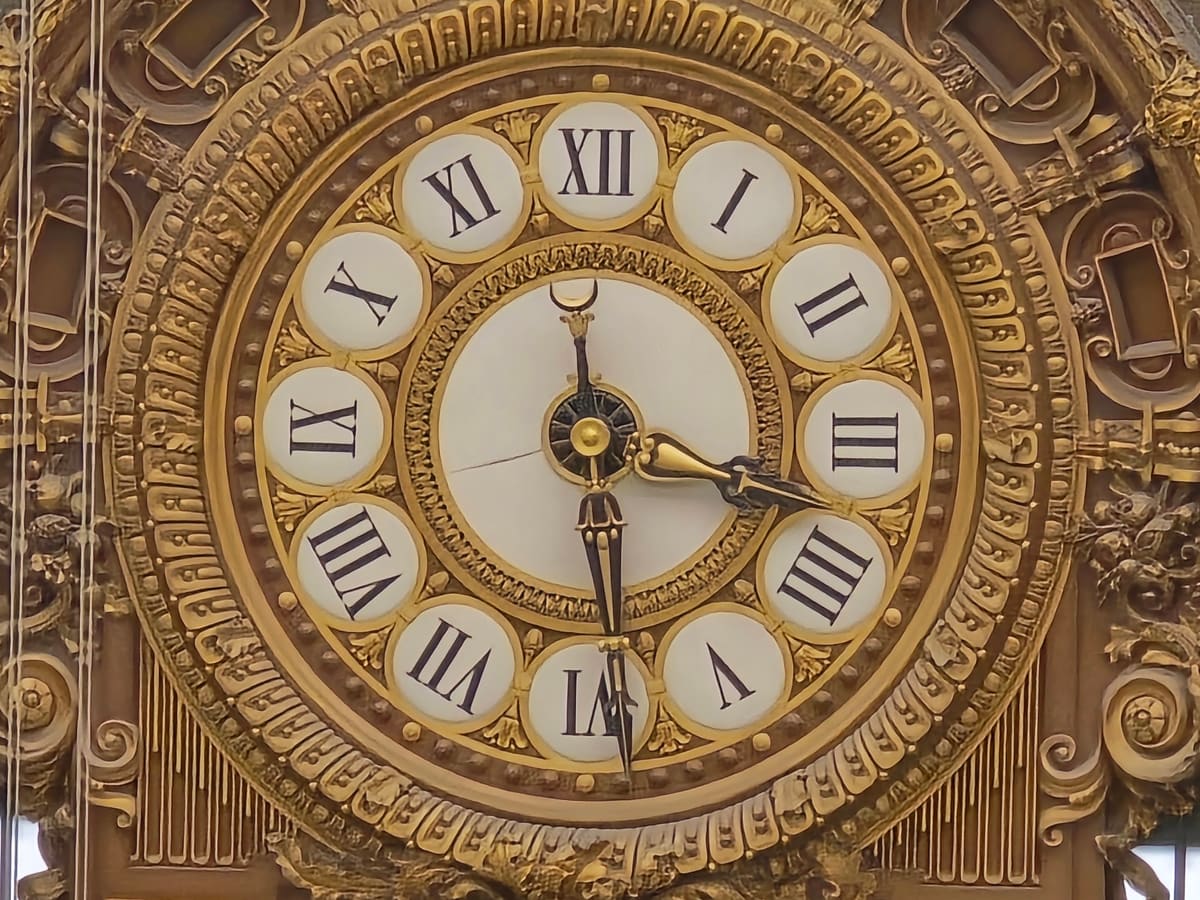
The first photo sets the scene, and you can go wider than your phone's 1x. The Musée d'Orsay set starts on the phone's 0.6x ultra-wide lens to take in the whole curved roof of the old station hall, then goes all the way to 30x on the great gilded clock at the far end: about fifty times closer in seven photos.
8. Hold the camera either way
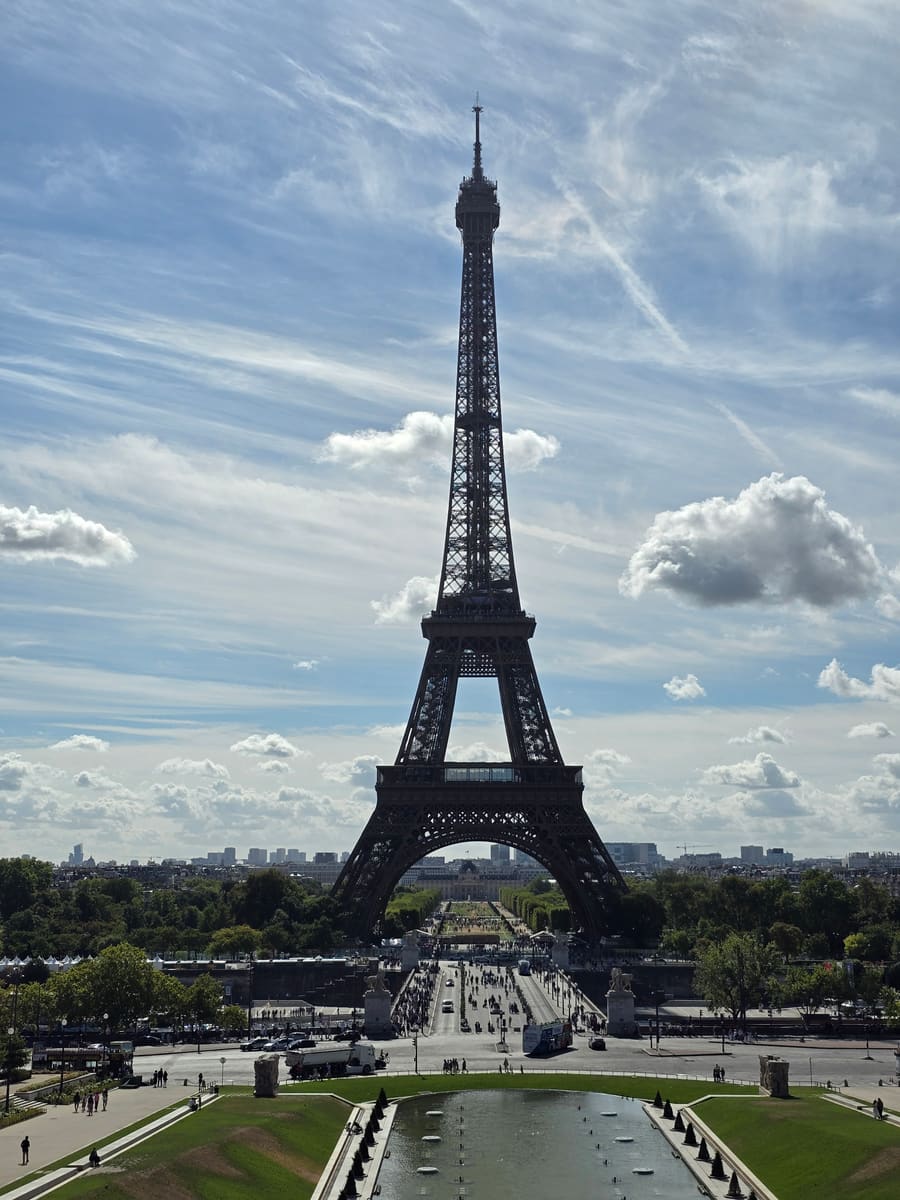
Zoom Buzz can render your zoom as a landscape or a portrait video, whichever way you held the camera, because each frame of the video is a window cut from your photos. The St Pancras and Musée d'Orsay sets were shot with the phone held sideways, and both became portrait videos. For a tall subject you can simply hold the phone upright, as for the Eiffel Tower below. If in doubt, hold it sideways: that keeps the most picture around your detail.
9. Decide which way to zoom
A zoom can fly in to the detail or start on the detail and pull back to reveal where it is. By default the direction follows the order you add your photos: add them widest first and the video zooms in, add them closest first and it zooms out. The Musée d'Orsay set was shot starting from the clock and working outwards, so its video starts on the clock and pulls back to the whole hall. You can change the direction afterwards, so do not worry about getting it right on the spot.
10. Stick to one target
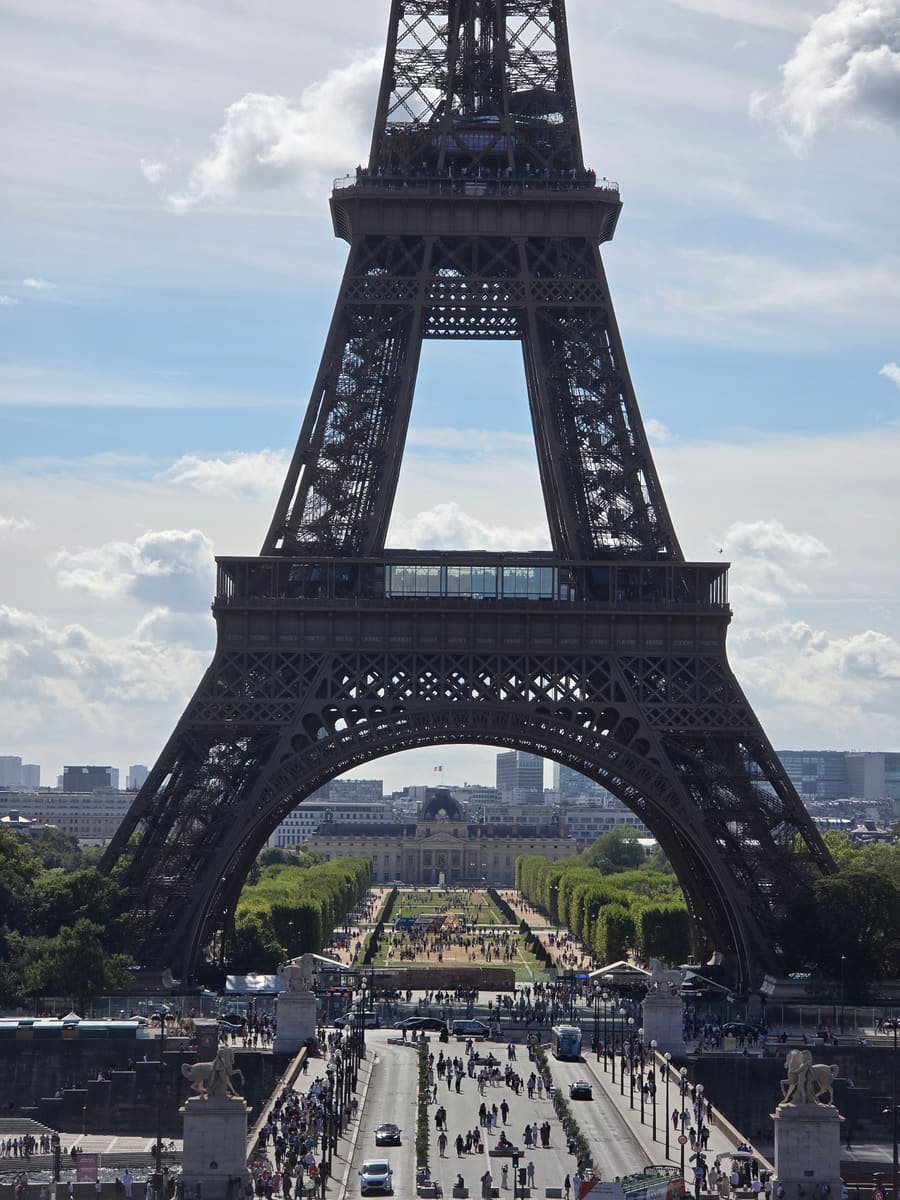
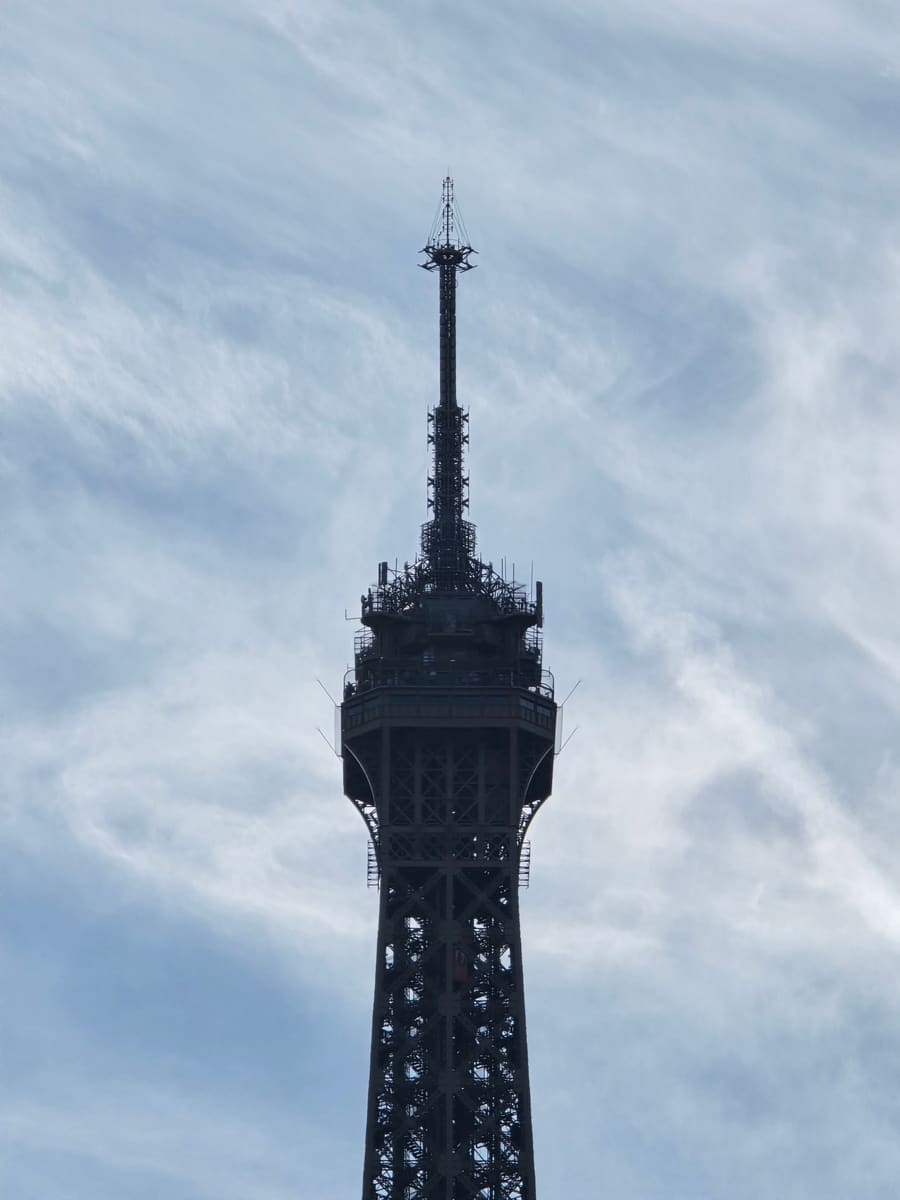
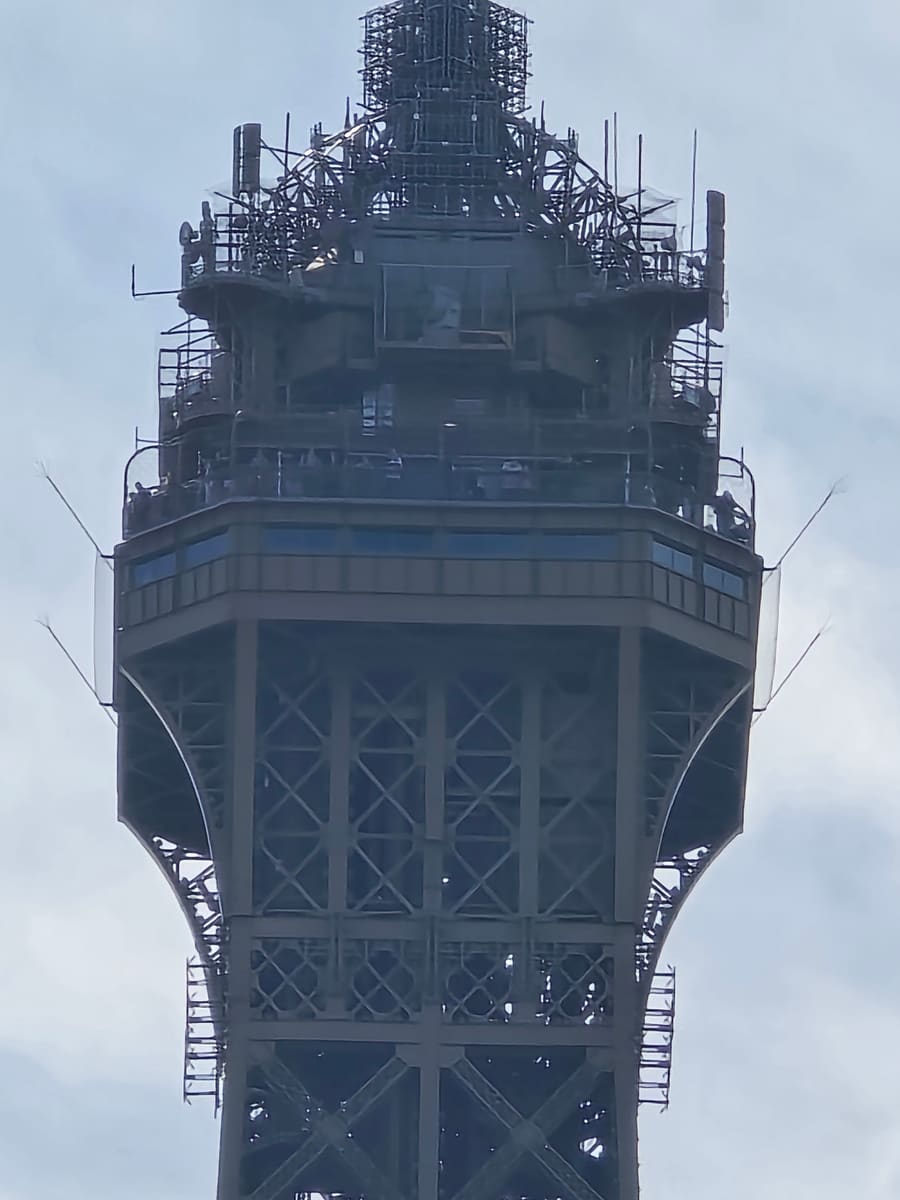
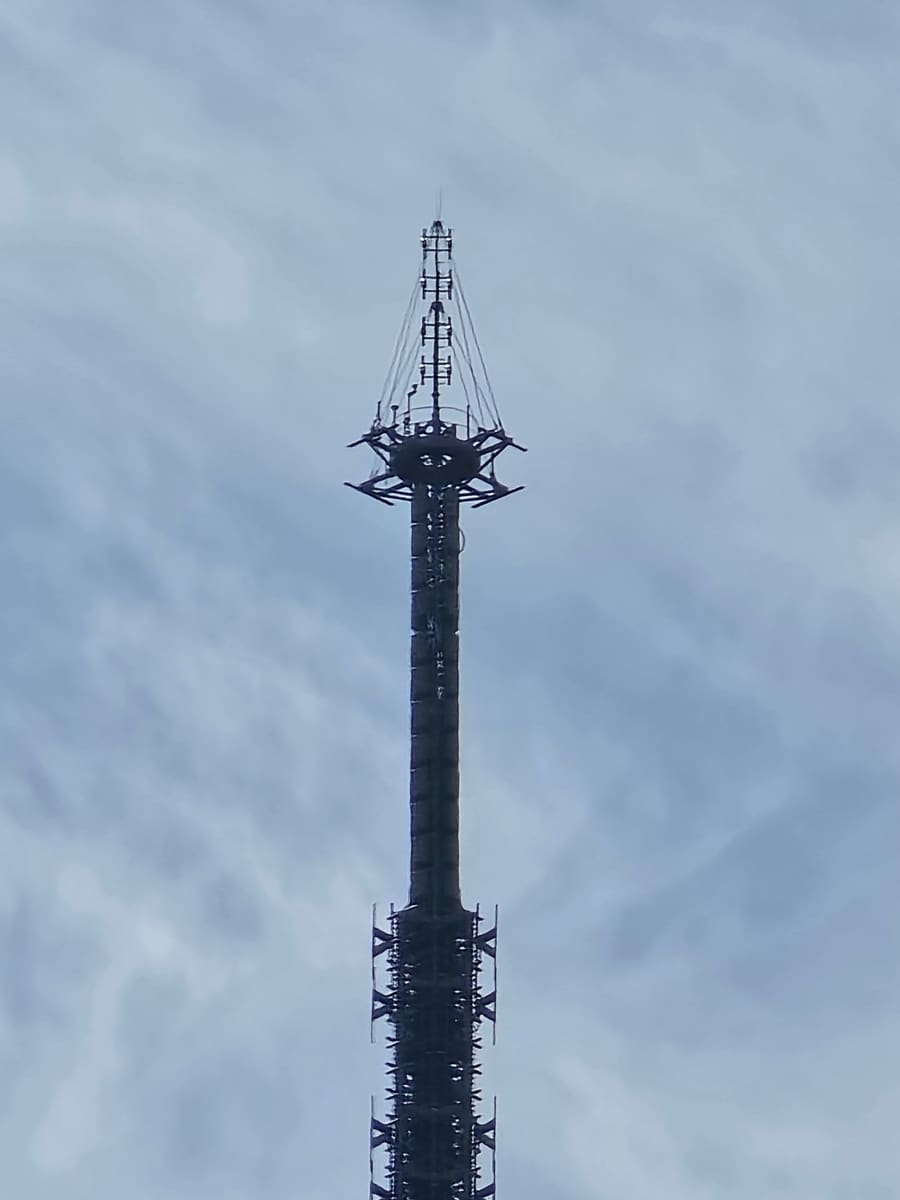
The Eiffel Tower set was shot upright from the Trocadéro, five photos from 2x to 30x in under half a minute, and its video pulls back from the antenna to the whole tower. One of its photos, at 5x, looked at the arches at the bottom instead of the top. It did no harm, because the zoom still runs cleanly from the antenna to the tower, but it added nothing either. Point every photo at the same detail and each one earns its place.
Before you leave the spot
Flick back through the set on your phone. Check that every photo is sharp, that each one shows the detail, and that no step between photos is a big jump. Reshooting takes seconds now and is impossible later.
Upload your photos and make the zoom
- Sign in on the Zoom Buzz home page with a one-time link sent to your email.
- Add your photos. Drag them onto the upload box, or click it to pick them from your device. Use the original files straight from the camera, not copies sent through a messaging app, which shrinks them. Do not crop or edit them first: the full-size originals zoom deepest. Each photo must be at least 640 pixels wide and no more than 40 MB.
- Press Make Zoom. Zoom Buzz processes the images, lines up the frames and renders the video, and shows each stage as it goes.
- Adjust if you like. Under the video you can switch the video shape between landscape and portrait, change the zoom direction, and choose exactly where the zoom starts or ends inside your closest photo. Press Remake zoom to render it again.
- Download or share. Download the video, or on a phone share it straight to another app.
If Zoom Buzz cannot line your photos up, it stops and says so rather than render something wrong. Why your photos would not line up explains the usual causes and what to try next.
See them in full
Each example has its own page on Zoom Buzz:
Find a detail worth arriving at, plant your feet, and step through your zoom.